Raspberry Pi
Jump to navigation
Jump to search
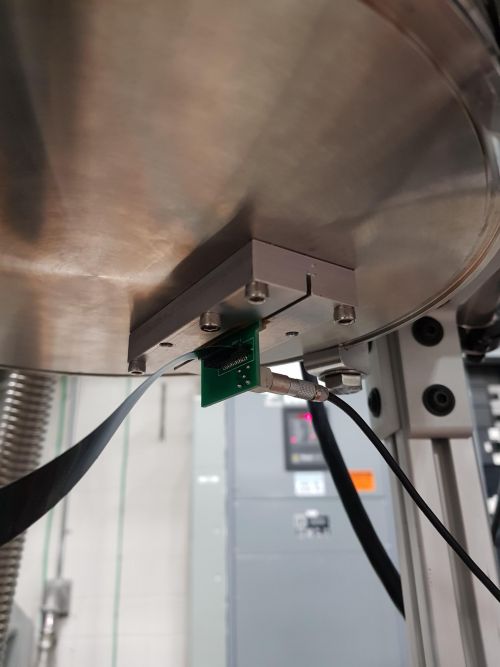
- The vacuum chamber upstream of the ANASEN main chamber is used to mount beam tuning diagnostics; a camera, a silicon detector and a phosphor screen.
- The silicon and the phosphor screen are mounted next to each other on a manual drive.
- The camera is mounted on a plastic holder at the bottom flange outside the beam path and tilted towards the phosphor screen to facilitate beam tuning. Next to the camera is an LED, which can be turned on to view the inside of the chamber and check detector/phosphor screen position and adjust the camera settings. Make sure to unbias the detector before turning on the LED!
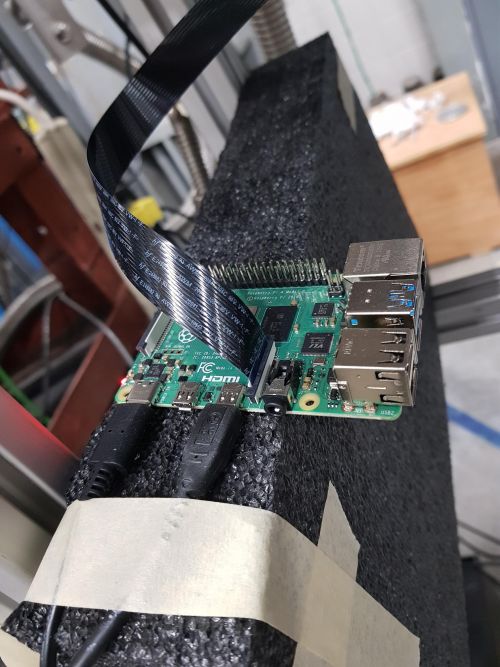
- The camera is controlled via a raspberry pi
Connecting the camera
- The little ribbon cables are a little tricky. They have to be inserted in a particular orientation. The best way to see is just to look at where the metal pins are on the cable and line that up to the contacts.
- The LED mounted next to the camera takes 5V (lemo connection)
- There is a micro-HDMI on the raspberry pi. Use the ethernet port to talk to the pi.
- Connect the Raspberry Pi directly to monitor, mouse and keyboard.
Login
- The raspberry pi is running raspberry pi OS (previously Raspbian) and is based on debian linux
- To connect to the pi remotely (provided it is registered on the network and connected to the ethernet), open a shell and ssh into it:
ssh -Y pi@anasen01.triumf.ca
- Or login directly when monitor, mouse and keyboard are attached to the pi
- Ask Annika or Martin for password
- Open a terminal
- To run the camera.py script do:
raspivid -t 0
- You can change zoom settings in the python script

