Raspberry Pi: Difference between revisions
Jump to navigation
Jump to search
No edit summary |
No edit summary |
||
| Line 3: | Line 3: | ||
*The LED mounted next to the camera takes 5V (lemo connection) | *The LED mounted next to the camera takes 5V (lemo connection) | ||
*There is a micro-HDMI on the raspberry pi. Use the ethernet port to talk to the pi. | *There is a micro-HDMI on the raspberry pi. Use the ethernet port to talk to the pi. | ||
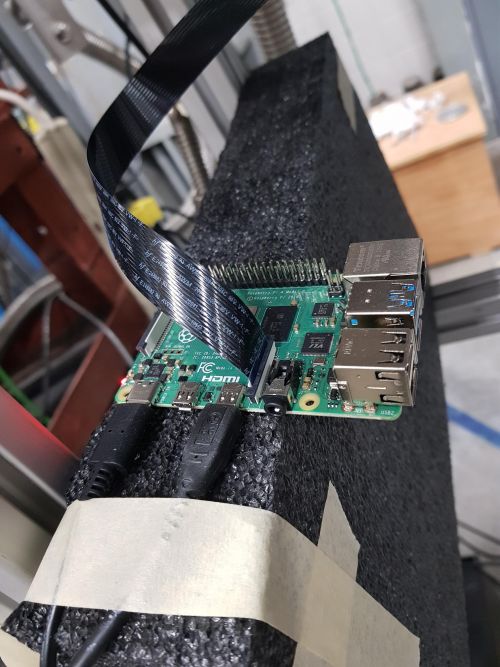
[[File:raspberrypi_1.jpg|500px|Raspberry Pi.]] | |||
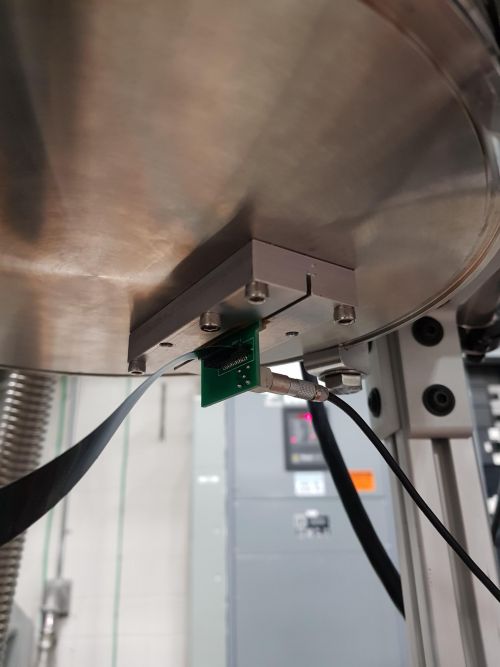
[[File:raspberrypi.jpg|500px|Raspberry Pi connection at flange.]] | [[File:raspberrypi.jpg|500px|Raspberry Pi connection at flange.]] | ||
Revision as of 00:59, 16 June 2022
Connecting the camera
- The little ribbon cables are a little tricky. They have to be inserted in a particular orientation. The best way to see is just to look at where the metal pins are on the cable and line that up to the contacts.
- The LED mounted next to the camera takes 5V (lemo connection)
- There is a micro-HDMI on the raspberry pi. Use the ethernet port to talk to the pi.
Login
ssh -Y pi@anasen01.triumf.ca
- Ask Annika or Martin for password
- Open a terminal
- To run the camera.py script do:
raspivid -t 0
- You can change zoom settings in the python script

